This step by step guide will assist you in setting up your iPad with your Hosted Exchange mailbox. Please be sure your iPad is running IOS 11 before you begin. If you have a previous version of IOS running you should upgrade or see other instructions as the steps below are for APple iPad’s running IOS11 only. We recommend running the latest version of iOS as this will ensure your phone has the latest features and security patches.
- On the home screen, tap the Settings
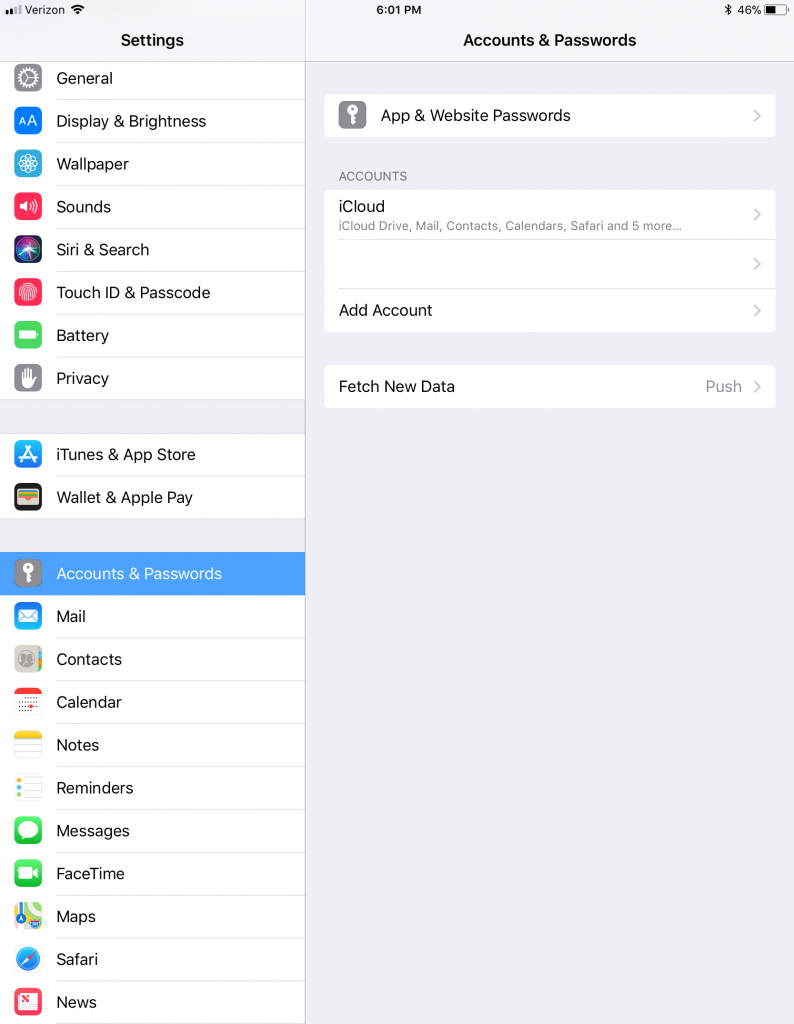
- Within Settings, scroll down and tap Accounts & Passwords
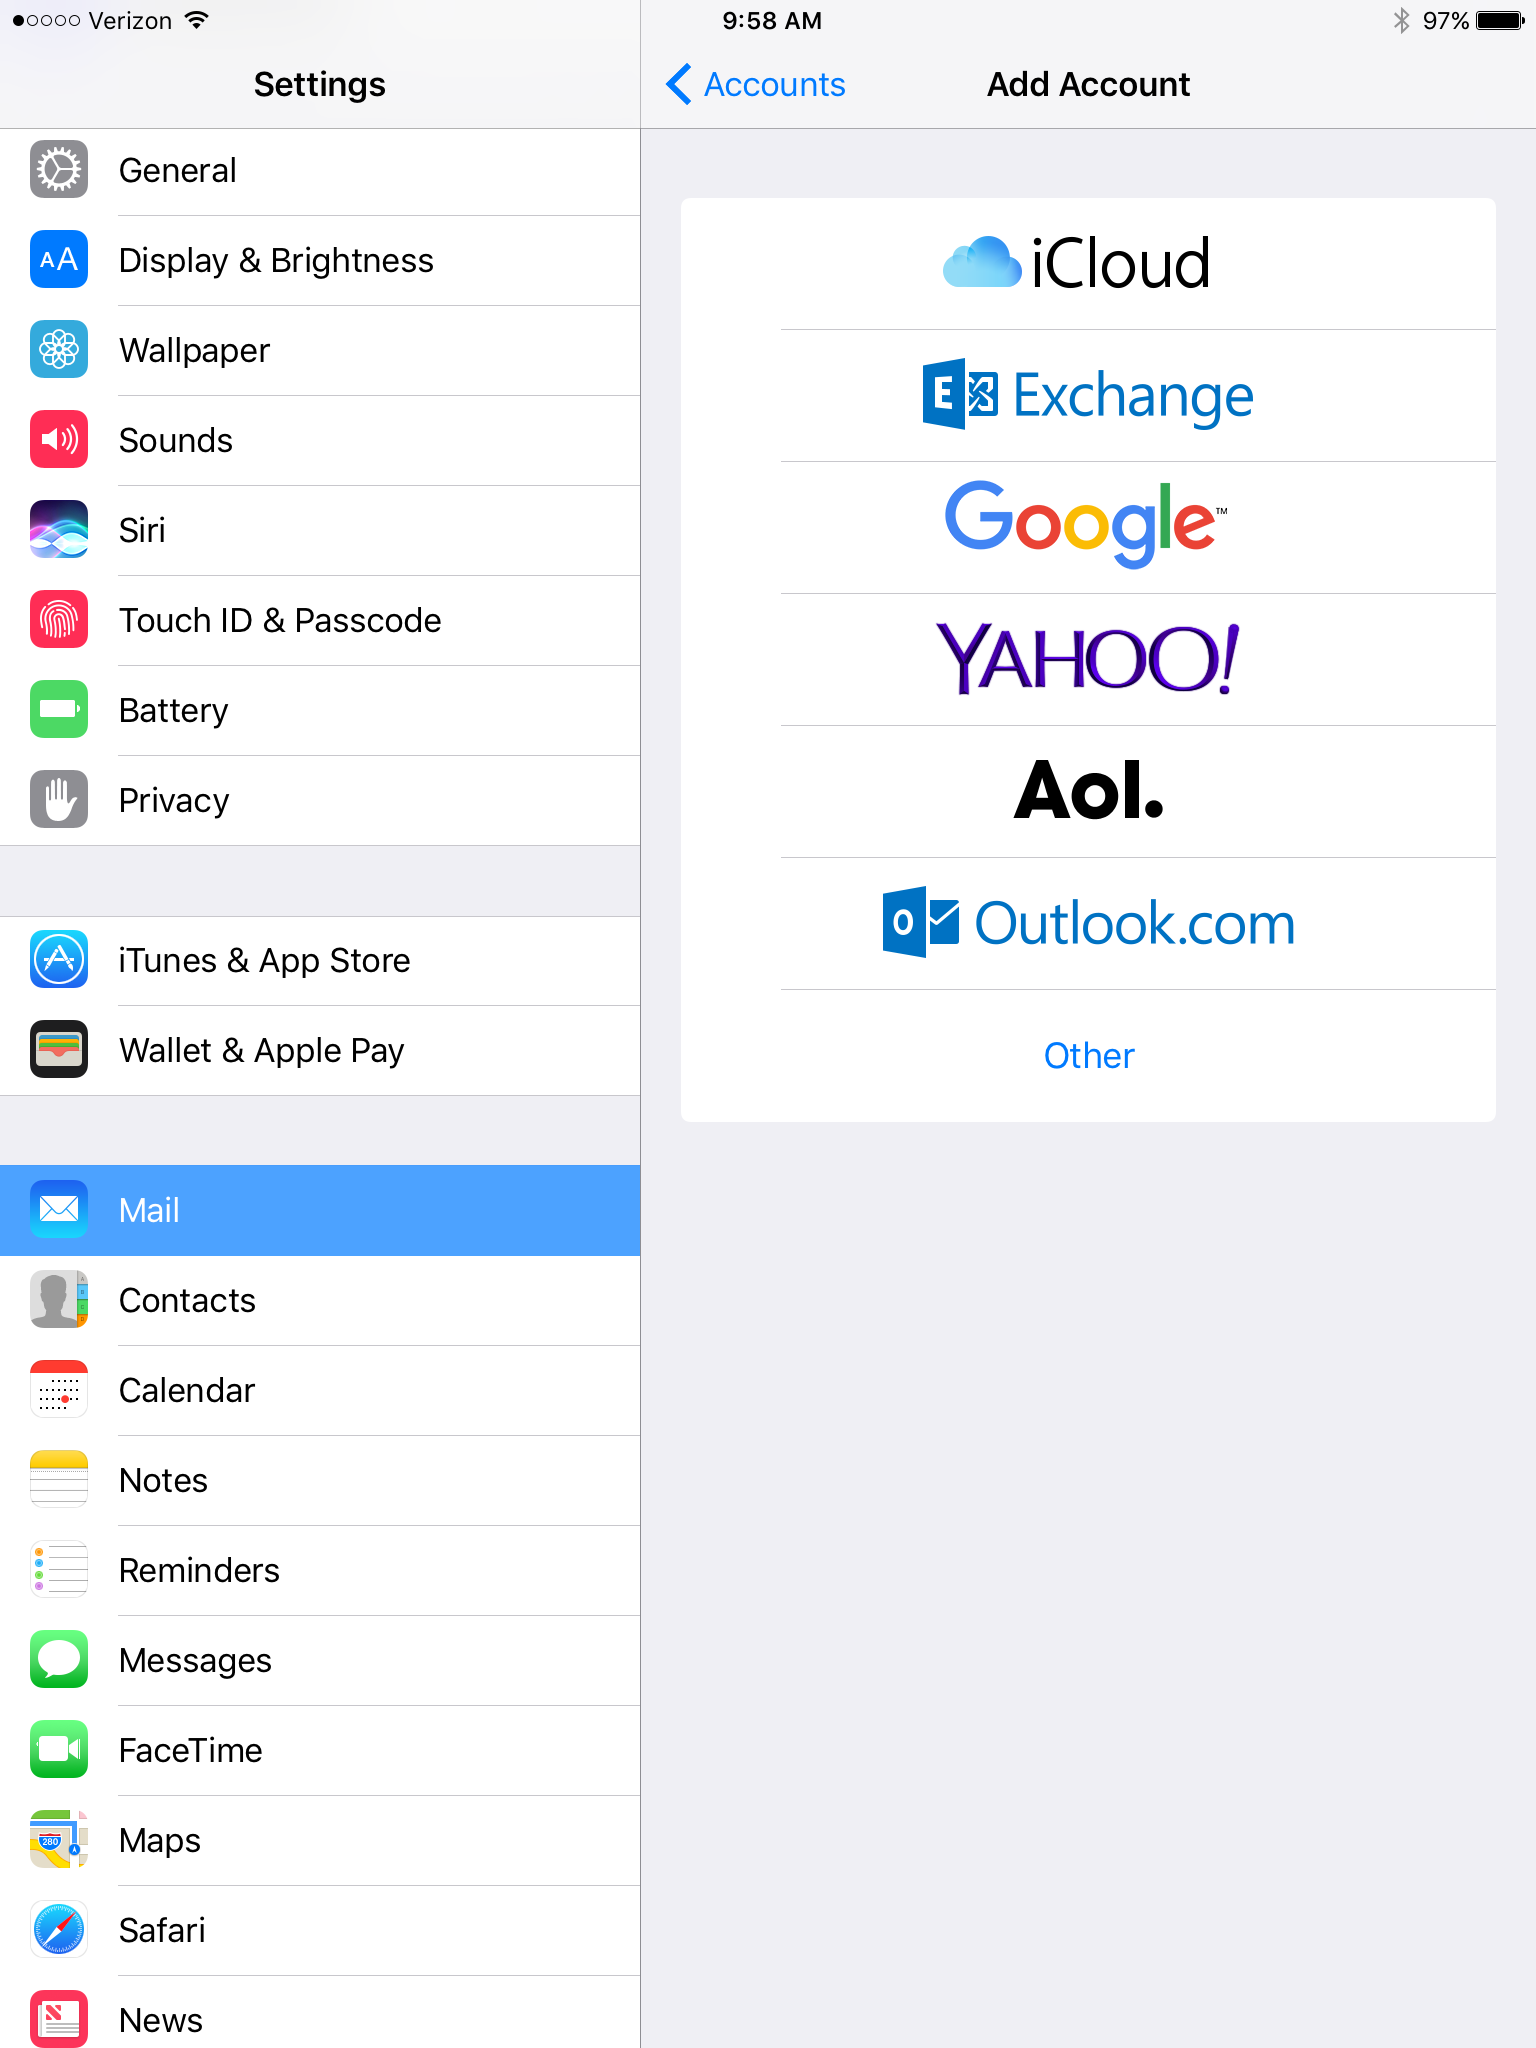
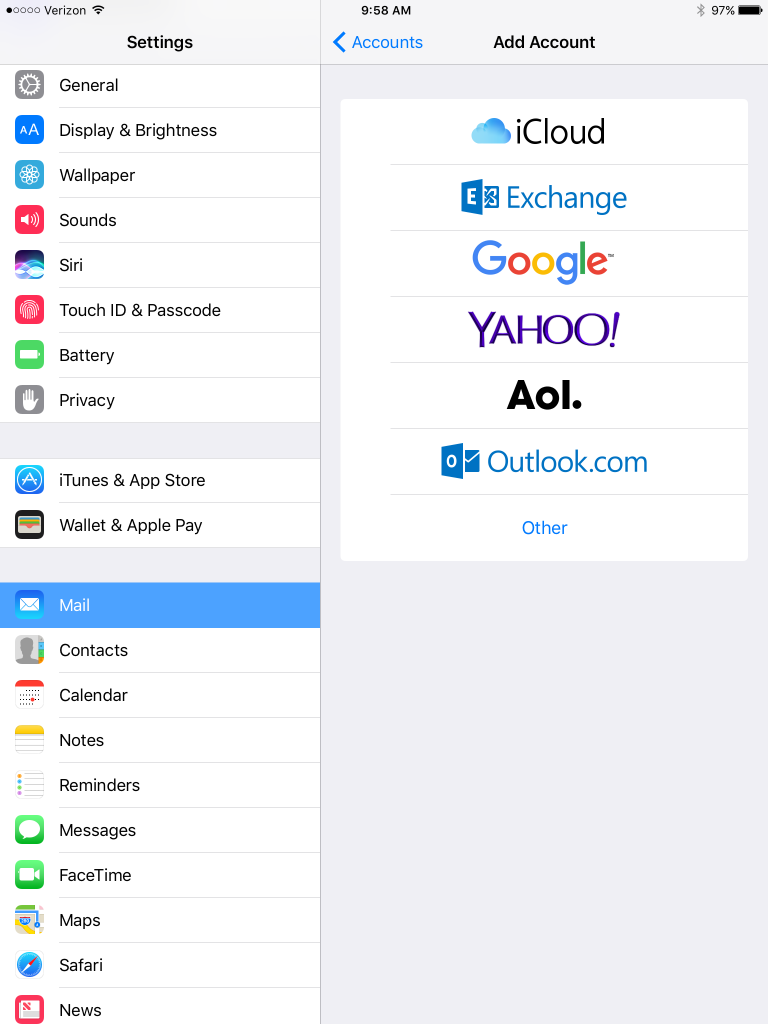
- Tap Add Account
- Tap Exchange
- Enter the following details:
Email Address: Your full email address example you@yourdomain.com
Description: Anything you’d like - Tap Next
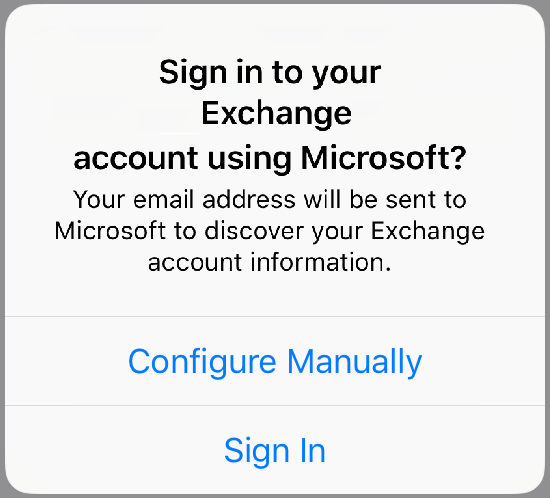
- Tap Configure Manually
- Enter the following details:
Email Address: Your full email address ex. you @yourdomain.com
Password: Your mailbox password
Description: Anything you’d like - Tap Next
- Enter the following server information:
Email Address: Your full email address ex. you @yourdomain.com
Server: Your email server address
Domain: Leave blank
Username: Your full email address ex. you @yourdomain.com
Password: Your mailbox password - Tap Next
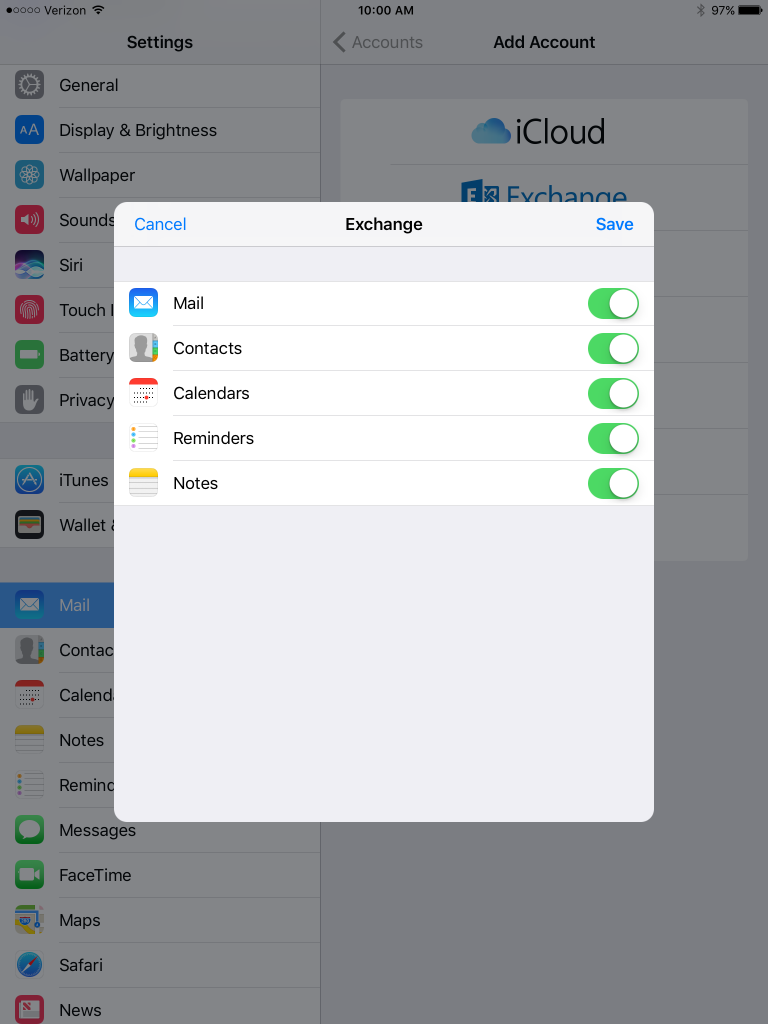
- Once saved, head over to the Mail app to access your email.Note:If you have a large mailbox, it may take several minutes before email appears. Please wait at least 15 minutes before troubleshooting.

